You will need your home Wi-Fi password, and — if you want the panel to show your own readings rather than sit blank — the address and API secret of your Nightscout site. If we host that for you, both are in your welcome email.
One thing to check first. The panels join 2.4 GHz Wi-Fi only, which is normal for this class of device. If your router publishes separate names for its 2.4 GHz and 5 GHz networks, pick the 2.4 GHz one. If it publishes a single name for both, you have nothing to do — the panel will find the band it can use.
The 3.5-inch panel
This one has no keyboard, so it borrows your phone: it puts up a small Wi-Fi network of its own, you join that, and a page opens where you type your real network details.
-
Plug it in
Any USB-C power supply. On first run — and after a factory reset — it goes straight to the Wi-Fi setup screen and waits.
Wi-Fi Setup On your phone or laptop, open
Wi-Fi settings and join: glucoscout-9ba8 No password needed Then open: http://192.168.4.1 The setup page usually opens by itself.The last four characters are unique to your panel — yours will differ. -
Join the network it shows
On your phone, open Wi-Fi settings and pick the
glucoscout-…network named on the screen. It is open — there is no password. Your phone may warn that the network has no internet, which is correct and temporary: the panel is not a router, it is just waiting to be told something. -
Fill in your real network
A setup page opens by itself a second or two after you join. Enter your home network name and password, then Save & Connect.
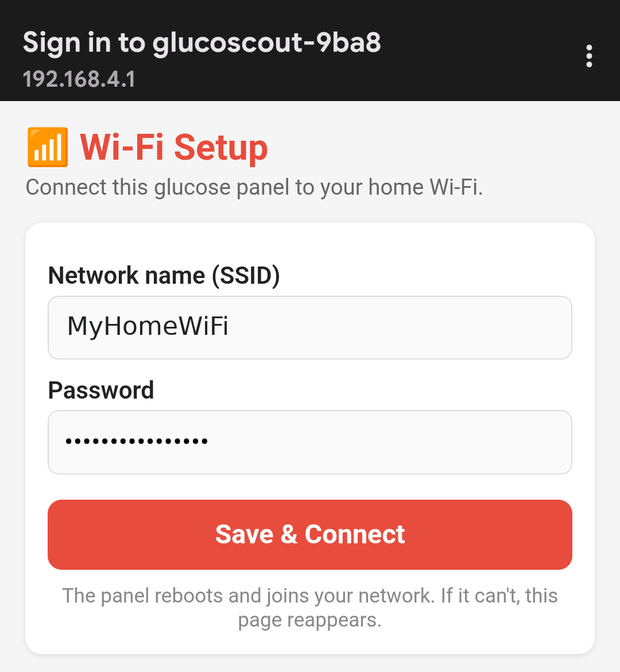
If it doesn't open on its own, type 192.168.4.1into your browser. -
Let it join
The panel restarts and joins your network, and its own setup network disappears — so your phone returns to normal Wi-Fi by itself. If the password was wrong, the setup screen simply comes back and you can try again; nothing is broken and nothing is lost.
The 10.1-inch panel
The large panel has a touchscreen big enough to type on, so it never needs your phone.
-
Plug it in
It opens on Choose your WiFi and lists the networks it can see, strongest first, with the signal strength beside each name. Tap refresh if yours is missing — and see the 2.4 GHz note above, which is the usual reason.
-
Tap your network, type the password
A keyboard appears on screen. Type the password and tap Connect. If it fails it tells you plainly — check the password — and you stay on the same screen to retry.
-
Done
It saves the network and restarts into the dashboard. You will not see this screen again unless you factory-reset it.
After it joins
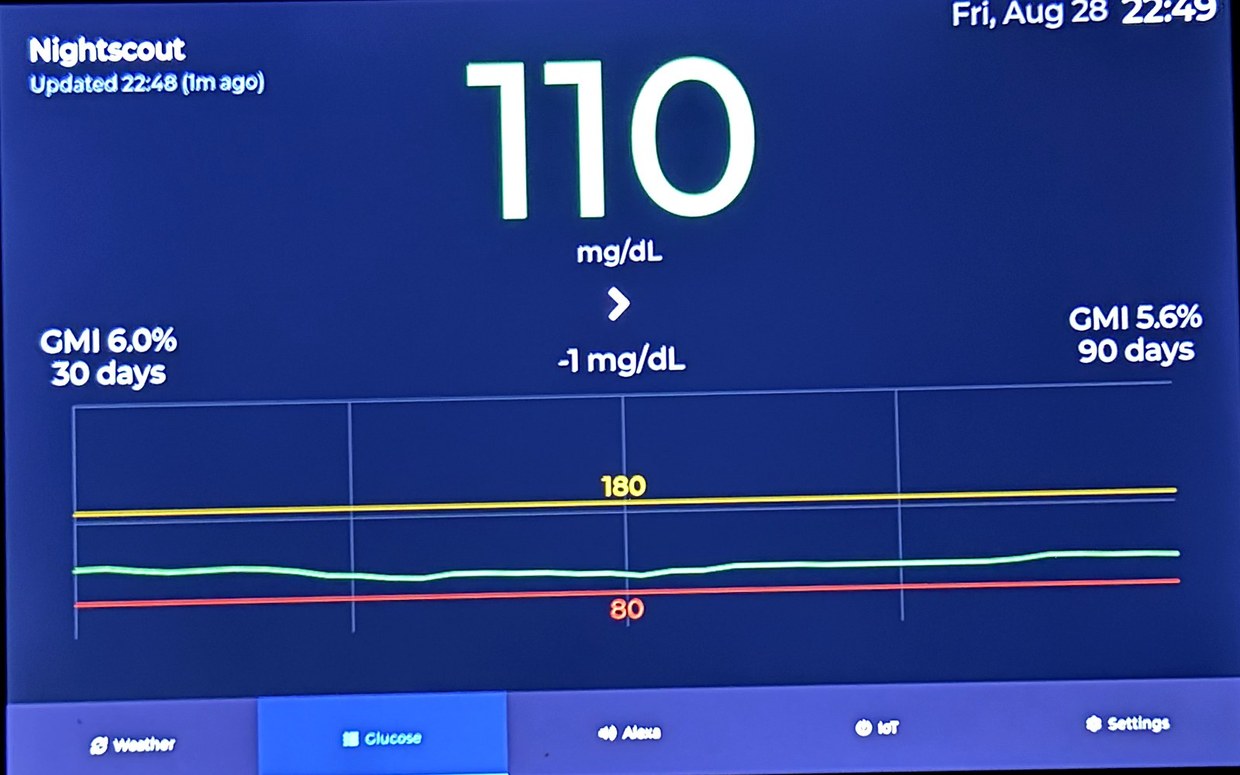
Both panels put their address on the Settings tab: the network they joined,
the signal, and a line like http://glucoscout.local/ with the numeric address beside
it. That address is the panel's own settings page, opened from any browser on your network — it is
where you set everything that isn't Wi-Fi.
| What | Where |
|---|---|
| Your glucose sourceNightscout, Dexcom Share or FreeStyle LibreLinkUp | Panel settings page → Glucose Source |
| Home Assistantthe panel appears by itself once the broker is set | Panel settings page → MQTT — then see Home Assistant |
| Units, clock, theme, thresholds | The panel's own Settings tab |
| Firmware updateschecked daily, installed only when you say so | Panel settings page → Check for updates |
Nothing leaves your network to make this work. The panel talks to your glucose source and, if you use it, to your own Home Assistant. There is no account with us, no cloud relay, and no port to open on your router.
If something goes wrong
The setup page didn't open by itself
Some phones don't offer it. Open a browser and go to 192.168.4.1. If the browser
insists on searching instead of loading, type http://192.168.4.1 in full.
My network isn't in the list
Almost always the 2.4 GHz point above. Hidden networks won't appear either — on the small panel you can type the name in by hand.
It joined, but the screen shows no readings
Wi-Fi and glucose are two separate steps. Open the panel's settings page and set your glucose source; until then it is connected but has nothing to display.
I can't find the panel's address
It is on the Settings tab of the panel itself. Failing that, your router's list of connected
devices will show it — the small panel identifies itself as CGM-Dashboard.
I want to start over
A factory reset from the Settings tab clears the saved network and returns the panel to the setup screen at the top of this page.
Small print
Names and trademarks. Dexcom, FreeStyle Libre, Home Assistant and Nightscout belong to their respective owners. We are not affiliated with or endorsed by any of them.
Your network, your responsibility. The guidance here is general information, provided "as is" without warranties of any kind, and you remain responsible for securing your own network.
Not a medical device. The glucoscout panel is an informational display for data you already collect. It is not a medical device, has no regulatory clearance, and must not be used for treatment decisions. Any low or high notice from the panel is a convenience only — never a guaranteed medical alarm. Keep using your CGM's own app and alarms.
Last reviewed 4 August 2026.